
How to use the camera tester to view IP camera images and modify IP addresses
We take IPC-9800 Plus as an example. Different models may be different, but the basic principle is the same. Hope this article is helpful to you.
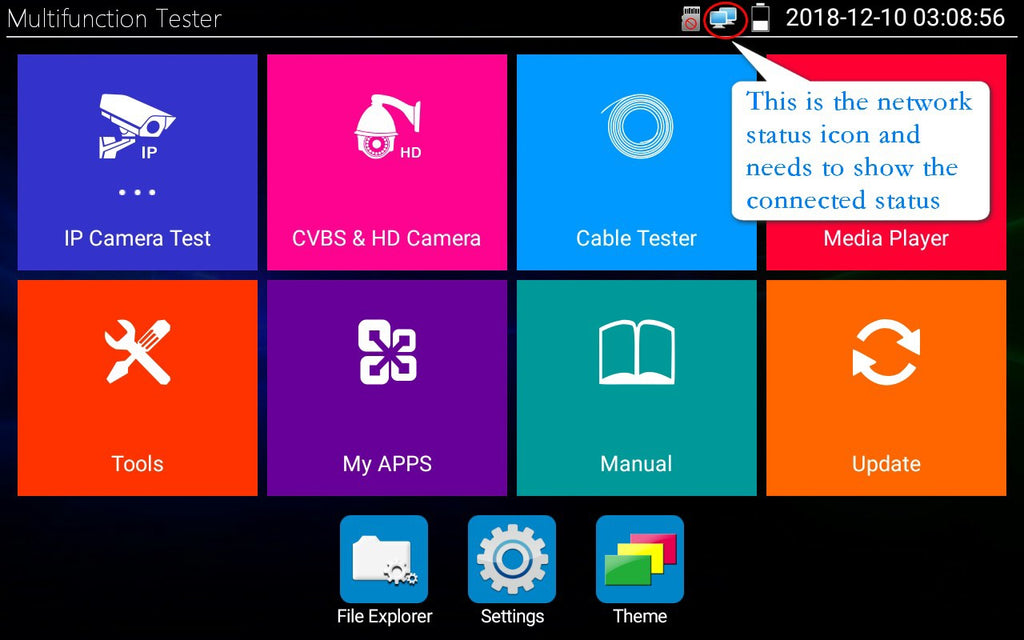
Firstly, check whether network connection between the tester and camera is normal:
When the tester is connected to the camera, check whether the network port light is on, if so, it is normal. Then view the network status icon in the upper right corner of the device screen, the icon needs to show the connected state, not the red cross. See pictures below:

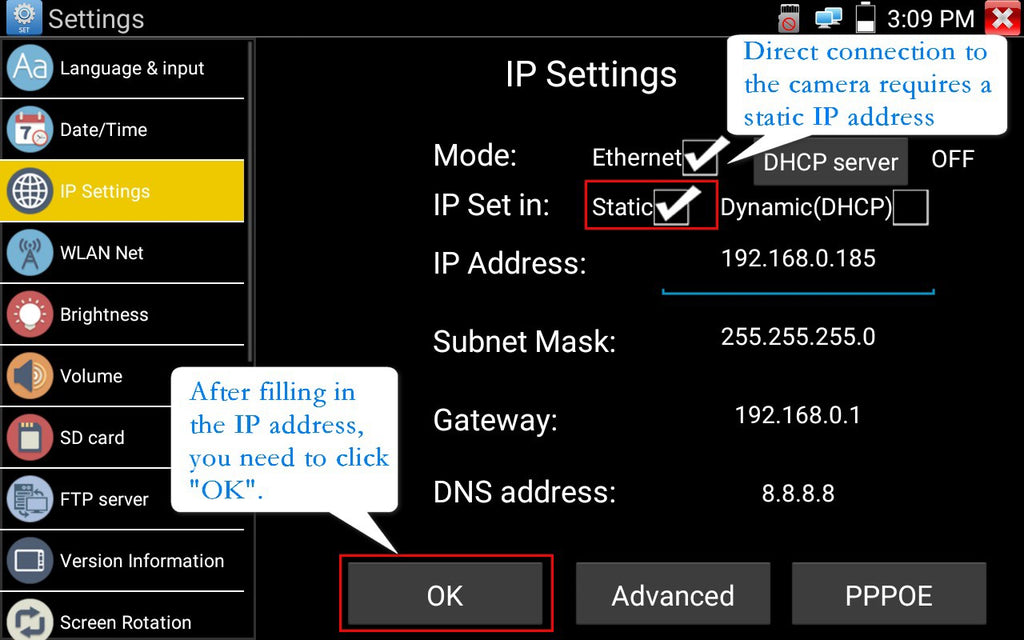
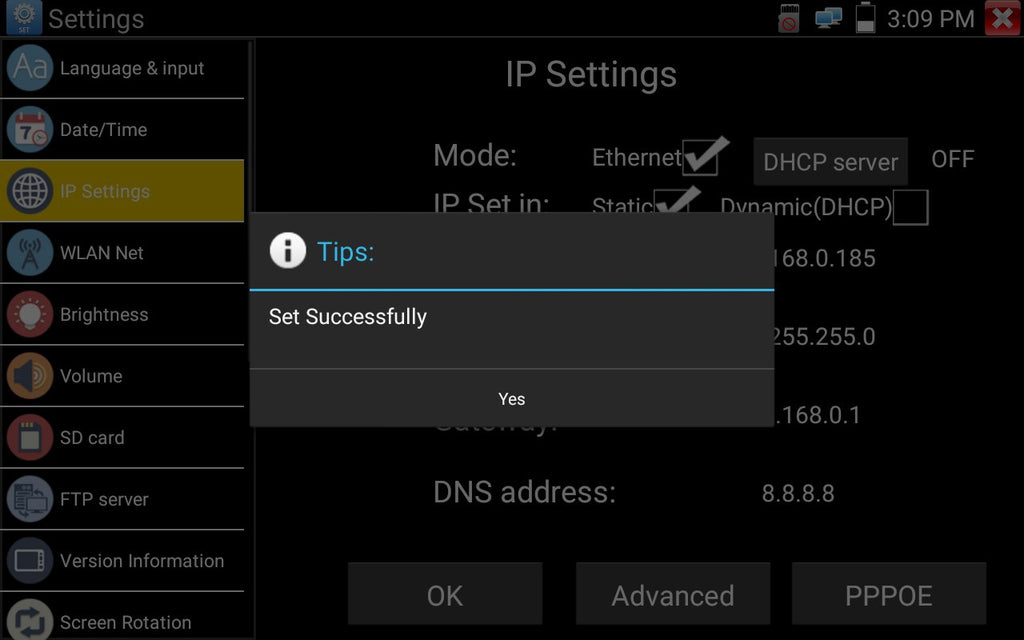
If the network port light is on but the network status is a red cross, do the following:
If the network connection and tester parameters described above are normal, you can start debugging the camera:
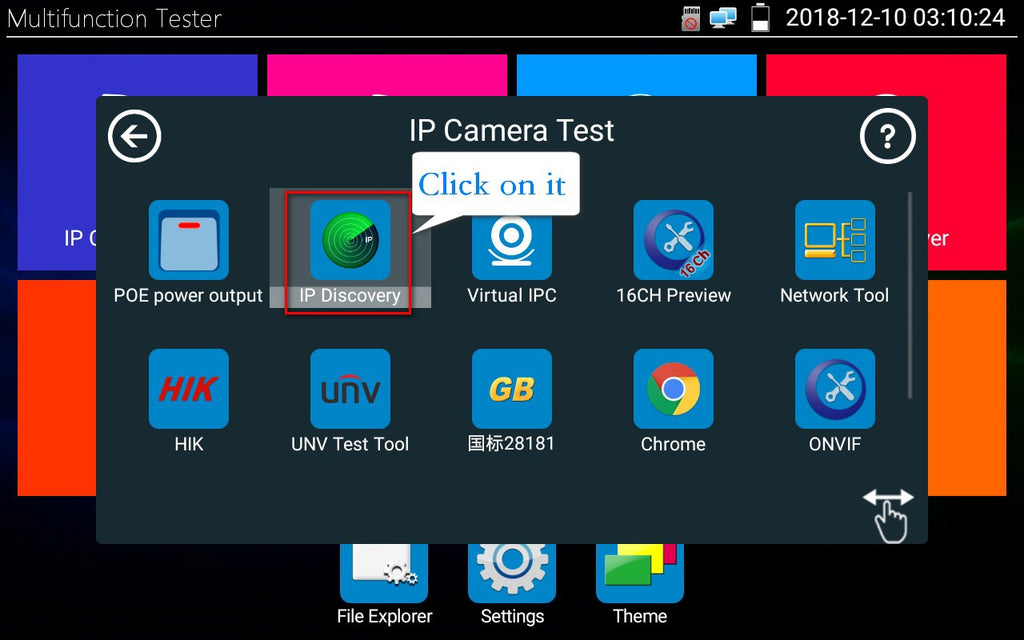
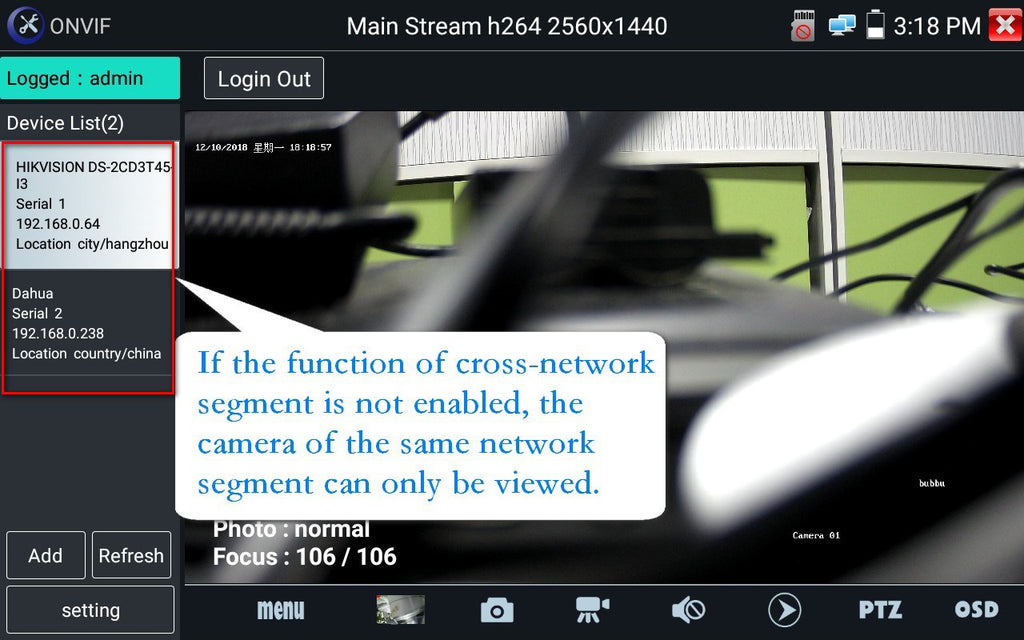
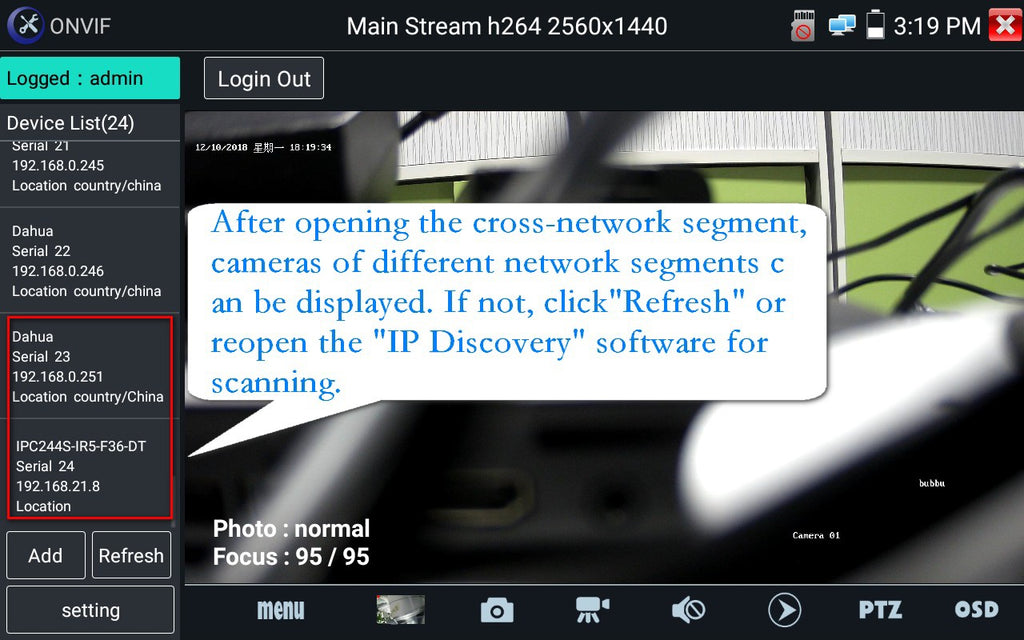
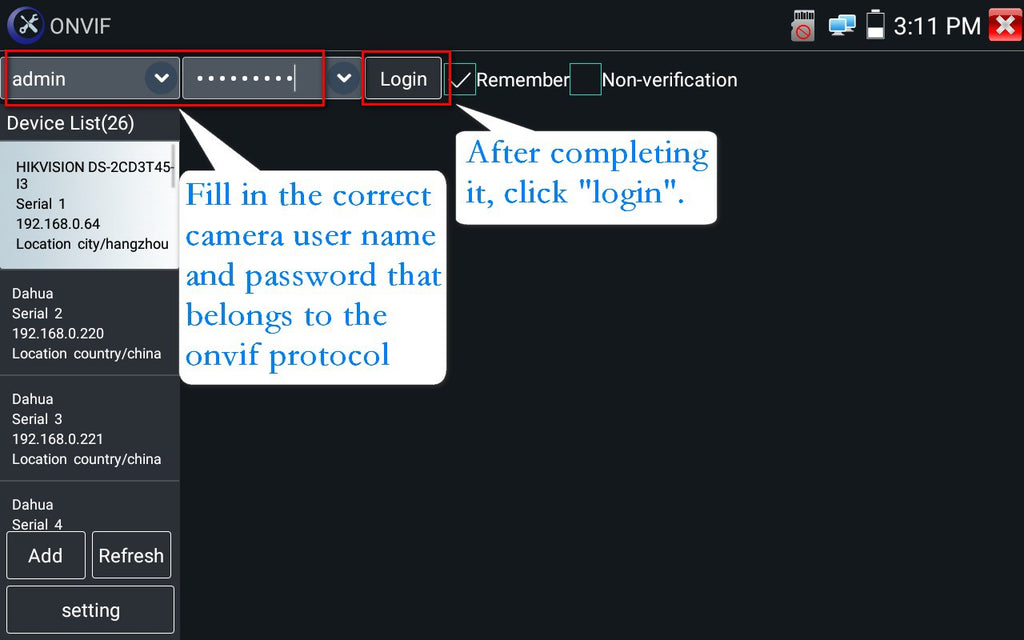
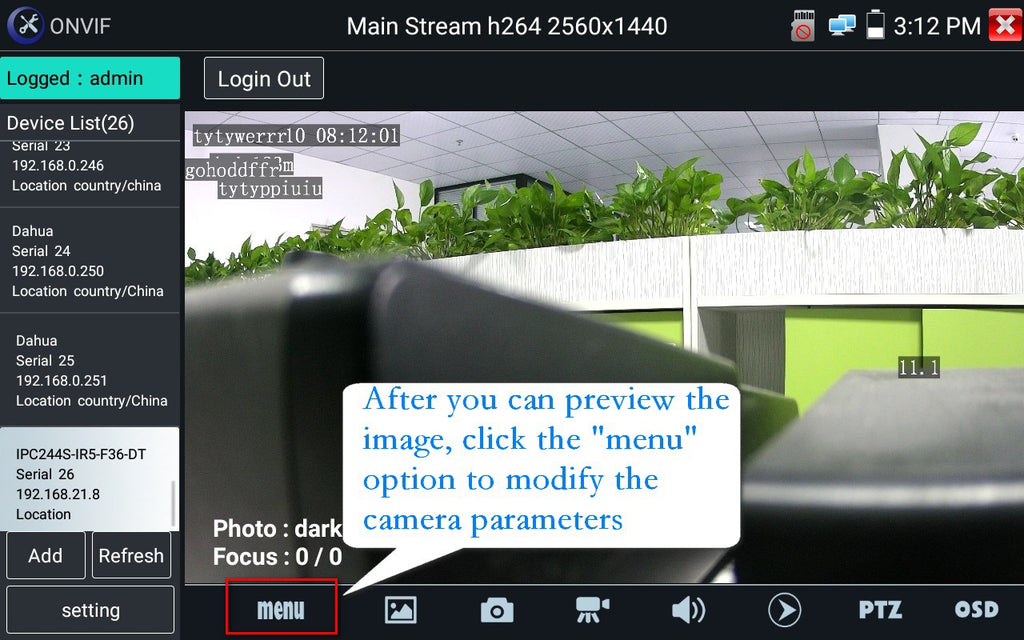
Method 1:generally, the onvif protocol is used to view camera images, operation is to click on the tester "IP Discovery" software, Scan for a while to get the network segments, then click on the "ONVIF" option inside. The IP list shows the IP address of the camera, and then click open the camera to see the image. When the image can be previewed normally, you can click "menu" at the bottom left of the interface, and then click "Network Set" to modify the camera IP address, and so on. See pictures below:


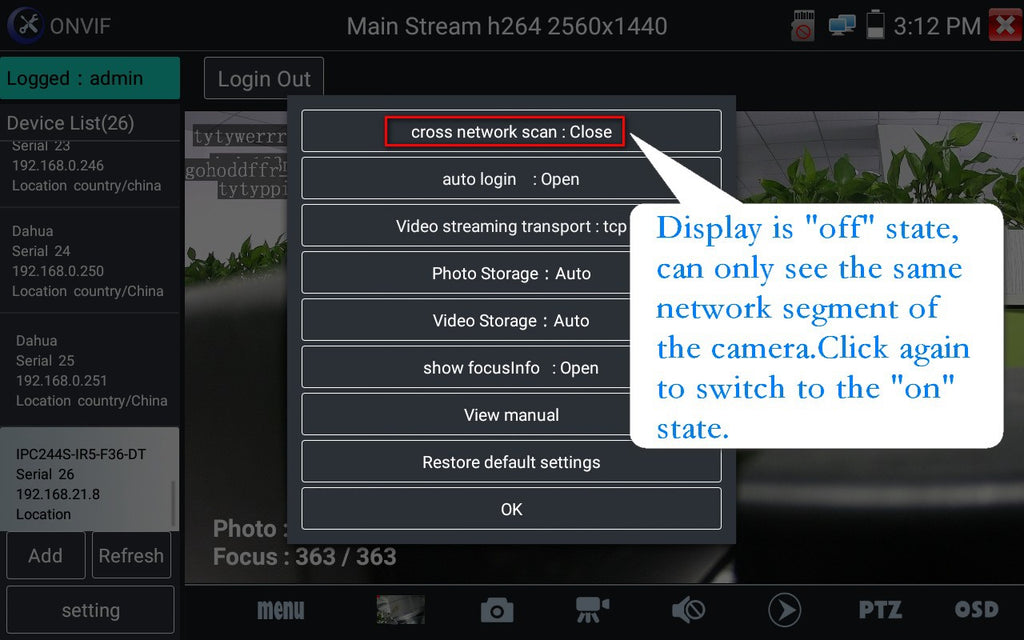


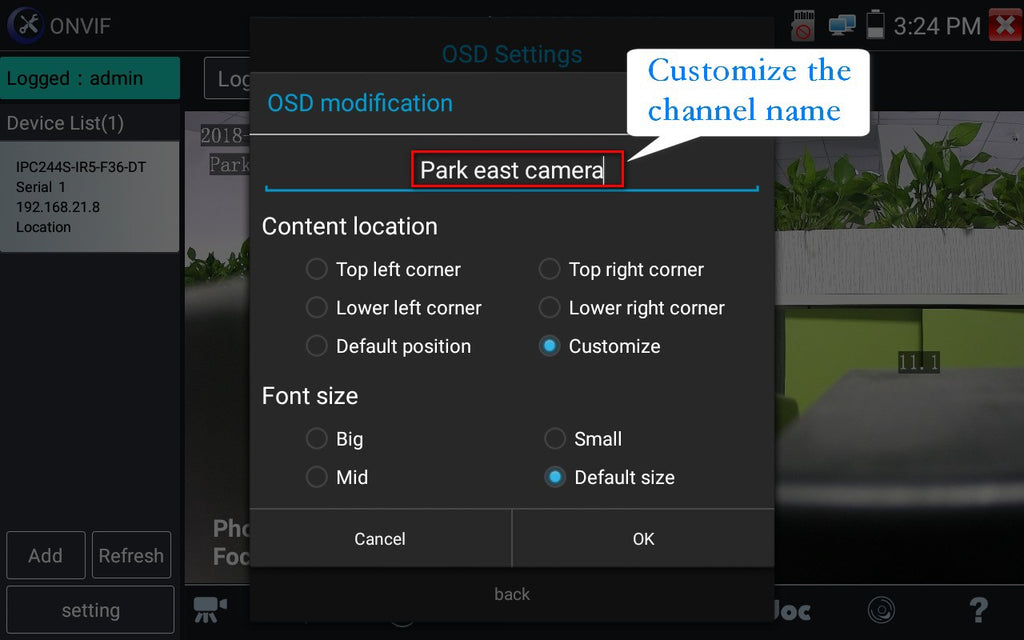

Note: if you want to superimpose characters from different languages, you need to enable the corresponding input method in the input method setting in the system Settings option.
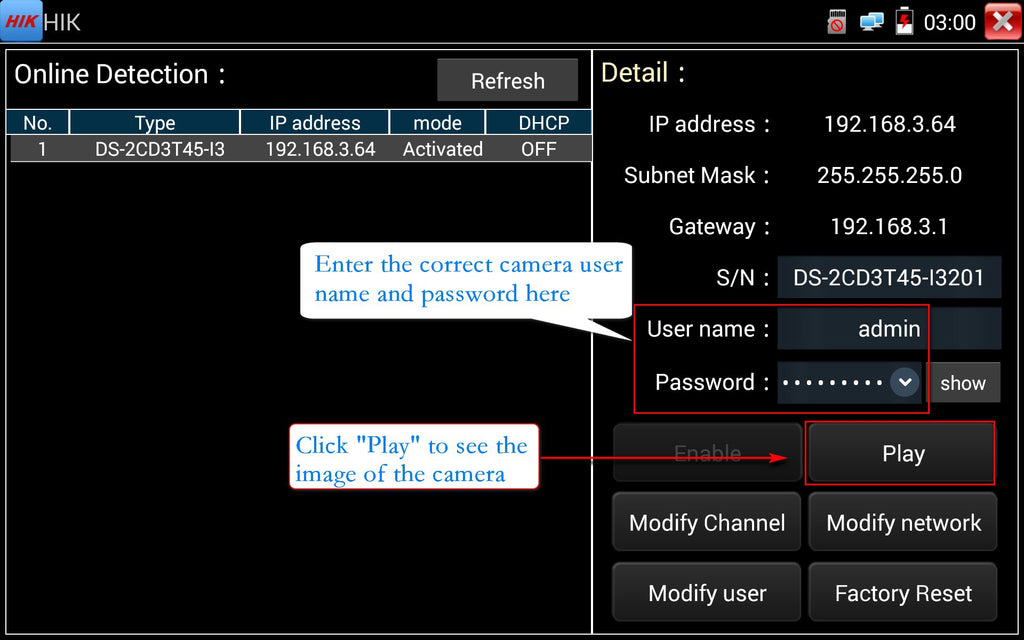
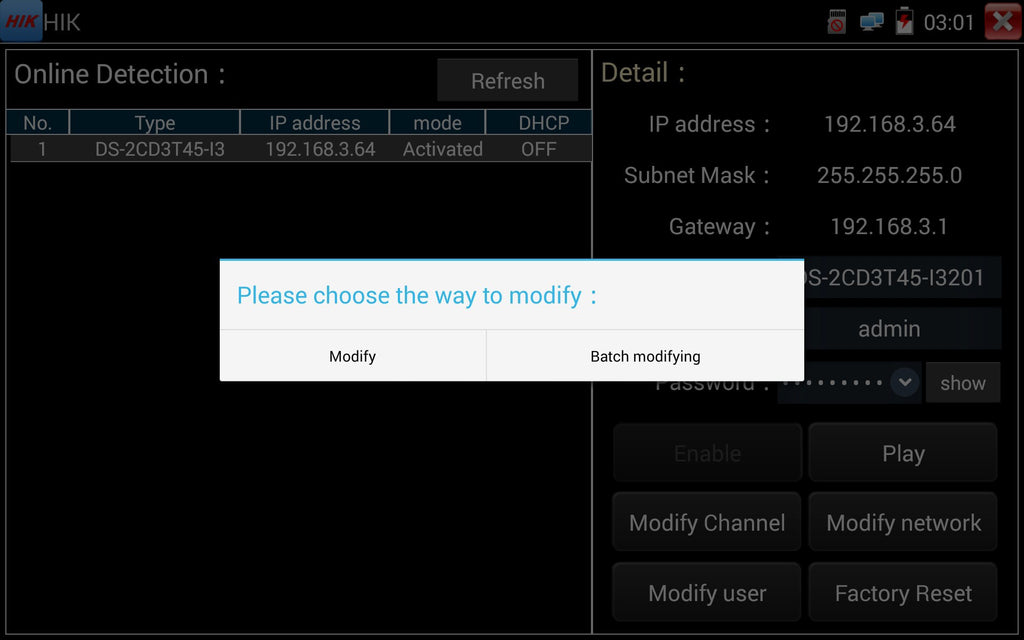
Method 2: if it is Hikvision camera, Dahua camera and Uniview camera, the
corresponding test tools can be used to activate, restore the factory Settings, preview the image, superimpose the channel name and modify the IP address. Hikvision camera is best activated using the "HIK" software, so that the software will automatically turn on the ONVIF protocol of the camera when activated. The
operation of Dahua camera is similar. The concrete operation takes Hikvision camera as an example: Click "HIK" software of the tester and enter the correct camera user name and password. Click "Play" to see the camera image, click "Modify network" to modify IP. See pictures below:


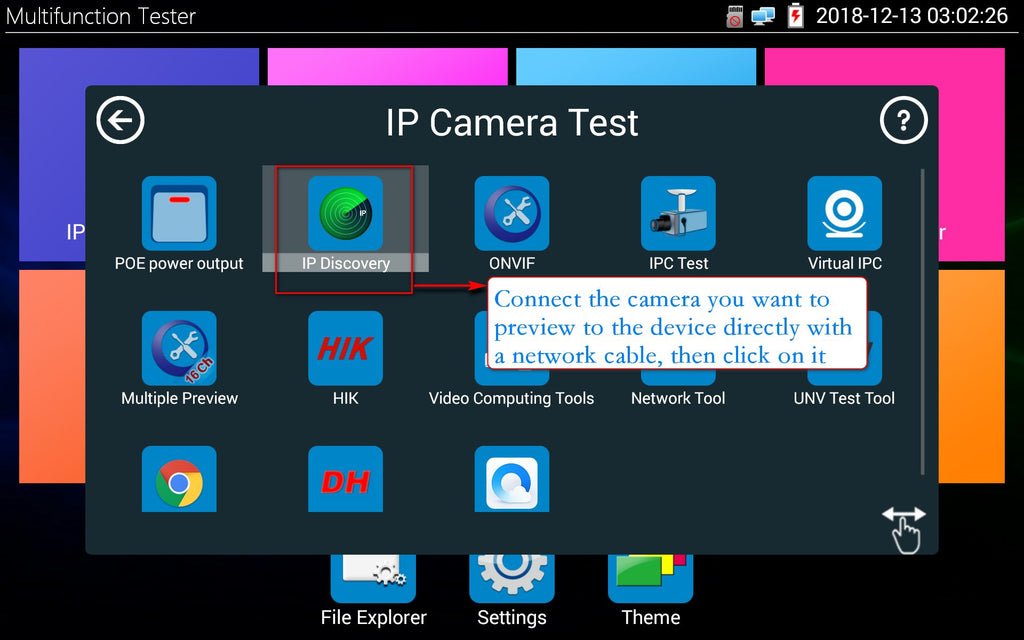
Method 3: cameras without the onvif protocol can view images using private
protocols. If you want to use the private protocol to preview the camera image, you can use "IPC Test" software of the tester. After opening, enter the correct camera IP, user name and password, "IP camera type" select "Auto", and the camera port number remains unchanged by default. Click the "Enter" option to preview after completing the form above. Using this software is only to see the image but can not change the camera IP parameters. The specific operation is as follows:
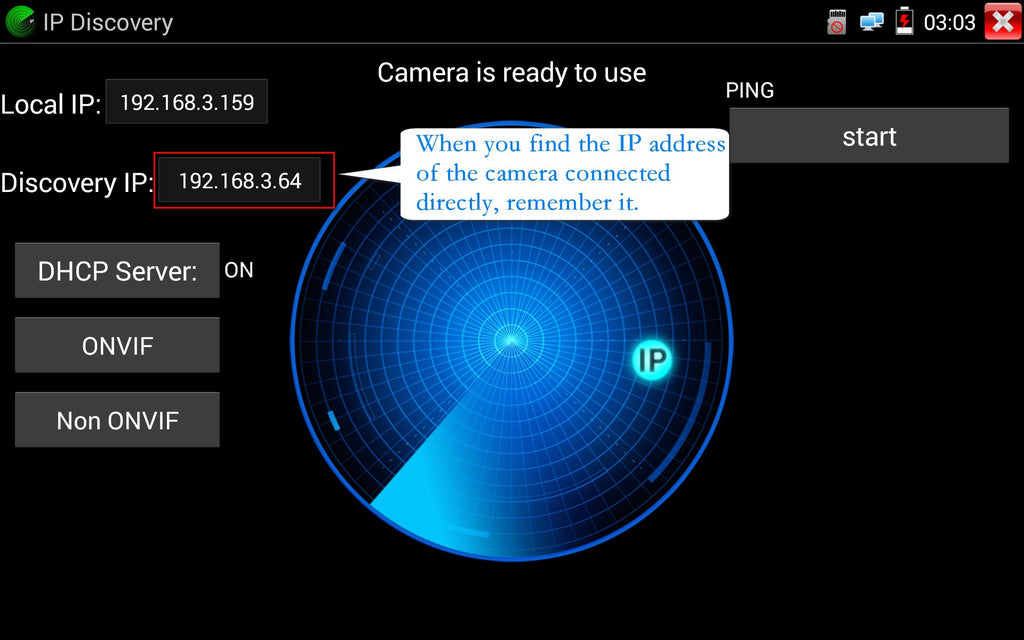
①Click the software "IP Discovery" to search the IP address of the camera directly connected to the tester, as shown in the figures below:
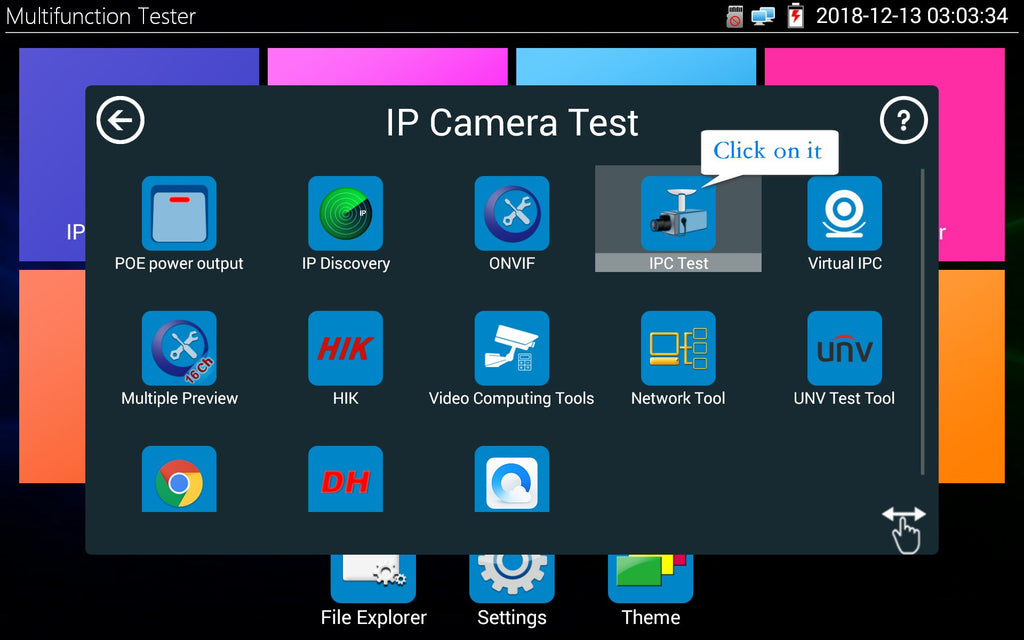
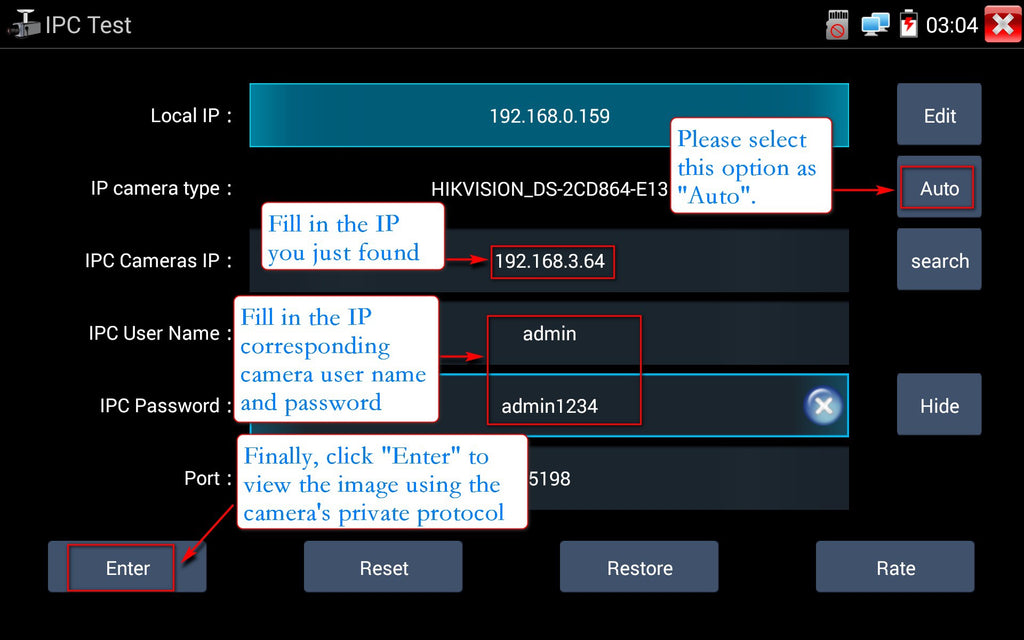
②Open the software "IPC-Test" and enter the IP address, user name and password of the camera, Select auto for camera type, and then click login to view the image of the camera using the camera manufacturer's private protocol.
Note: the software can only see images, but it can't change the camera's IP address. See the following figure for specific operations:


The end, Thanks!
thank you.it help alot